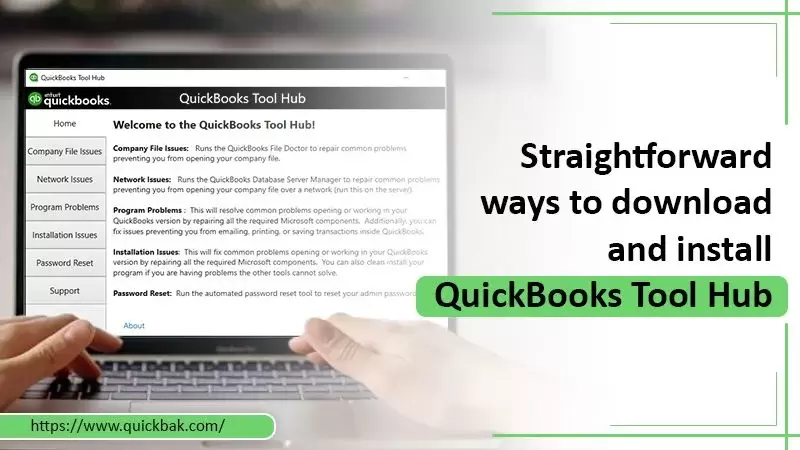
 QuickBooks accounting software is one of the leading financial software in the market today. However, those using it are well aware of the numerous errors that crop up from time to time. These errors, if not resolved on time, can potentially disrupt the whole workflow. So, it's essential to know what QuickBooks developers offer to resolve them. The QuickBooks Tool Hub is a great utility that enables users to get rid of different errors as quickly as they face them. The Tool Hub has a selection of tools that helps users to fix errors they encounter while installing the software and doing various things with it. In this article, you'll find about the QB Tool Hub in greater detail.
The Process to Download QuickBooks Tool Hub?Before installing, you need to download the tool. The steps for QuickBooks Tool Hub download are given below.
The Process to Install QuickBooks Tool Hub?To install the QB Tool Hub successfully, you must first ensure that you meet its prerequisites. Your computer system should have the following installed on it.
Ensure that you install these two things on your device before launching the QuickBooks Tool Hub installation file that you just downloaded. If you find that your device does not have either one or both things, go to Microsoft's official website. You can also use the search engine to get the direct link of these two things from Microsoft. After you download and install them on your device, follow the steps described in the subsequent sections to install the Tool Hub installation file correctly. Installing QB Tool HubFor installing the Tool Hub, go to the folder where you downloaded it. After that, follow the steps below.
Which Problems Can the QuickBooks Tool Hub Resolve?The Tool Hub can easily fix the common problems and errors that arise while using the QB Desktop. Here is the list of problems that you can rectify using it.
The Different Components of QuickBooks Tool HubYou will notice eight distinct tabs in the QuickBooks Tool Hub program diagnostic tool. Every tab takes care of particular issues. These include the following:
The Home screen provides essential information about the Tool Hub and the different ways you can use it. You can also find which component to employ for fixing specific problems. Using QuickBooks Tool Hub to Solve Various ProblemsYou can resolve most of the problems like company file issues, network issues, program problems, and the like with the QuickBooks Hub Tool. Here is how you should use it. Fix company file issuesIf you are encountering company file options, choose the second tab in the application and run QuickBooks file doctor. The Tool Hub will enable you to resolve company file problems that begin with the 6XXX series. The Tool Hub has the current version of the QB file doctor. You just require to run file doctor and define your company file's location. It will resolve the issues in a very short time. Solve network problemsWhen facing network issues in QuickBooks, navigate to the 'Network Issues' tab in the QB Tool Hub application. The tool allows you to resolve all problems related to networking. If you use it in multi-user mode and are facing problems with it, you can run this tool. Network errors like h202, h303, h505, and the like will get resolved. Open QB Database Server Manager and go to the location of your company file. The QB Database Manager will start scanning for network problems. It will only take a few minutes to fix them. Resolve program problemsOn facing QuickBooks 6xxx errors, navigate to 'Quick Fix My Program.' It is present in the 'Program Problems' tab in your QB Tool Hub. This tab will enable you to resolve three types of problems in your QuickBooks Desktop. They include the following:
Fix installation issuesIf you face errors and problems regarding installation in QuickBooks, head over to the 'Installation Issues' tab. Here, choose the suitable option. If you require to conduct a clean install, navigate to the 'Clean Install Tool.' you can also use the QuickBooks install diagnostic tool. Password resetIf you want to reset passwords for QB Desktop, navigate to the 'Password Reset' tab. This tab in the Tool Hub assists in resetting the password of QB Desktop UK, CA, and US versions. Help and SupportHere, you can find different channels through which you can connect with the expert support team of Intuit QuickBooks. Advanced toolsIntuit has incorporated more functionalities in the updated 1.5.0.0 version of QuickBooks Tool Hub tool. The advanced tools in the QB Tool Hub have 14 buttons. These make resolving problems much more convenient. However, the tab is only for IT professionals or advanced users. You can connect with a support team to fix issues with your QB.
0 Comments
 Banking error 103 is very common to occur while using QuickBooks. This error indicates that the login credentials you have entered for your QuickBooks online account are not being accepted by the website. The user will encounter QuickBooks Error 103 until the user updates the sign information for the QuickBooks online account. If you are also facing the same trouble, and unable to fix the error on your own, this guide can help you to fix the issue. Here we are going to share the easy steps that will help you to resolve QuickBooks Error 103 on your device.
Common reasons that users encounter QuickBooks Error 103.
Troubleshooting steps to fix QuickBooks Error 103. Verify the login credentials.
Edit the sign-in information.
Link the QuickBooks accounts to the bank account.
Hopefully, this will help you to resolve the QuickBooks Error Code 103 on your device. If you are still getting an error, you can cease the account with the help of the steps below.
Additional information Sometimes the Bank requires the user to sign in with the special excess rather than using the common password. In such a situation, you need to get in touch with your respective Bank to know whether you are using the correct credential. This will help you to resolve 103 QuickBooks Error on the device. But, if you are still unable to troubleshoot the error on your own, you must get help from the customer care service provider to resolve the issue. The experts will help you to find the best possible solution to troubleshoot QuickBooks error 103 and make sure that you do not face the same problem again. You can call the experts at any time of the day as the professionals are available around the clock to help. 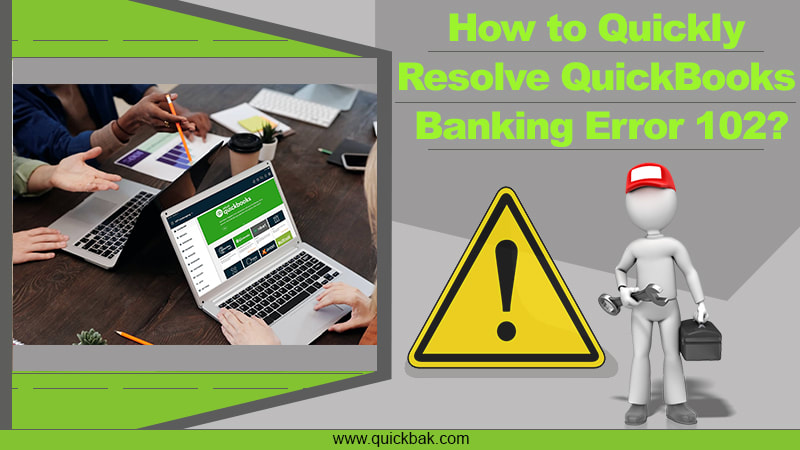 QuickBooks, the world’s most widely used accounting software by businesses, has helped many to achieve their business goals. Although it is advanced software, it is not completely free of errors. One such error which users face is the QuickBooks Error 102. Also called QuickBooks Banking Error 102, it occurs when there are some technical issues or due to maintenance work making the
data transfer between the bank server and QuickBooks null. If you are facing QuickBooks Error 102 on the software, then the following troubleshooting methods will fix the error. If you want a quick response to fix the error, then you can contact the QuickBooks Support helpline which is available 24/7. METHODS TO FIX QUICKBOOKS ERROR 102 1- ACCOUNT UPDATE ON QUICKBOOKS ONLINE If you find no signs of malfunctioning either on the bank’s website or on the credit card company’s website, then that means your account needs a manual update on QuickBooks online. The update option will be available in the top right-hand corner. It is recommended that at least three manual updates be conducted during non-peak hours of the bank’s website. Some accounts are automatically updated but the ones requiring manual updation can be done in the following steps:
2- CHECK FOR ACCURATE ACCOUNT DETAILS QuickBooks Online Banking Error 102 might happen if you are unable to connect with your bank. Login through the bank’s website and check the following details upon adding your bank account to download and fix QuickBooks transactions.
3- WAIT FOR THE BANK TO ACT Sometimes the QuickBooks Error 102 will occur due to a glitch on the bank’s website. So it is better for you to wait and let the bank resolve the problem with their website. Wait for at least 24 hours and proceed to perform other troubleshooting methods if it’s still unresolved or you can contact QuickBooks Support. MORE SIMPLE STEPS It is imperative for you to keep checking for notifications or warnings from the bank regarding your account. Also, ensure that your account is not new and has been enabled for online banking. These easy ways will definitely help you figure out the reason behind QuickBooks Banking Error 102. You can always rely on QuickBooks Support for additional assistance. QuickBooks, the world’s leading accounting software has been instrumental in enabling businesses to maintain their records. Being an interesting software, it is not free from errors. One such error which users face is QuickBooks Error 102.
WHAT IS QUICKBOOKS ERROR 102? QuickBooks Error 102 is actually a banking error which means that QuickBooks hasn’t been able to establish a connection with the bank’s website. Technical glitches on the website of the bank, or website maintenance or servers unable to transfer data, all lead up to QuickBooks Banking Error 102. If you require quick assistance with such an error, then make sure to contact QuickBooks Support immediately. CAUSES BEHIND QUICKBOOKS ERROR 102 The user faces QuickBooks Banking Error 102 due to many reasons such as:
HOW CAN YOU RESOLVE QUICKBOOKS BANKING ERROR 102? In the following steps, you can resolve the error on your own. Follow the given steps carefully and your QuickBooks software will be back to normal before you know it.
AUTOMATIC UPDATES Automatic updates take place in your Online Banking Account at 3 AM Pacific Time. If the QuickBooks Online Server has not been able to update the info in the account, then it will try for five times more in five hours. MANUAL UPDATES Most accounts work with automatic updates, but if you do not see an update on the information, that means you need to update it manually.
FINAL THOUGHTS A QuickBooks Error 102 can be resolved easily if the user follows the steps correctly and carefully. The user can contact QuickBooks Support for further technical help. 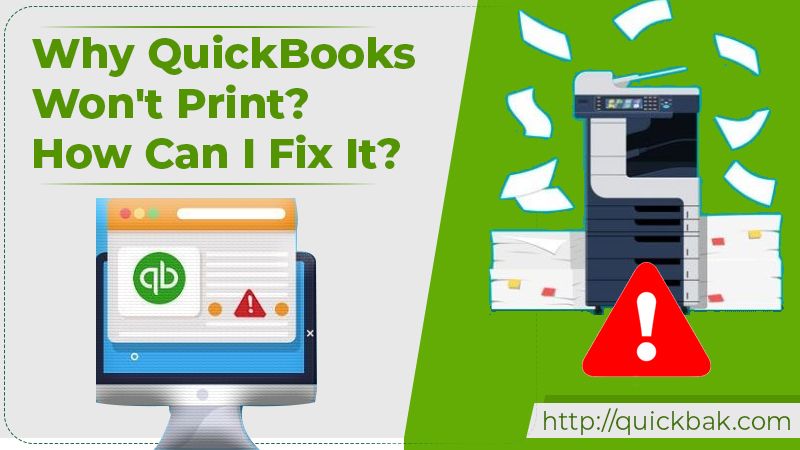 QuickBooks is a leading accounting software used by small and medium-sized businesses all around the world. It is known for its easy interface and ability to handle major financial transactions. But, QuickBooks has its own set of issues that require attention from time to time. One such issue which troubles its users is when QuickBooks won’t print. Since most printers are different from each other, the issue which arises when QuickBooks won’t print can only be solved when the user has enough understanding of the printer setup. If not, then some troubleshooting steps may help, or else the user would have to approach QuickBooks Support.
THINGS TO REMEMBER Before starting with the troubleshooting process when quickbooks won't print invoices, there are a few things that should be kept in mind to avoid any further problems. Keep in mind that: l The QuickBooks software must be running on or updated to its latest version. l Make sure that the connectivity is not lost. The software should be connected to the printer and that the printer software is installed correctly. l For any specific kind of printer error messages, the user needs to contact QuickBooks support first. CAUSES OF “QUICKBOOKS WON’T PRINT” PROBLEM In QuickBooks, printing problems can arise due to something minute or something trivial, which is why the user needs to check the underlying cause of the problem. The causes can be: l QuickBooks isn’t connected to the printer l QuickBooks isn’t able to print due to broken communication with the printer commands. l An unresponsive XPS port which is freezing QuickBooks l Cannot communicate with the company file l Print host driver problems in QuickBooks FIXING QUICKBOOKS PRINTING PROBLEMS To resolve the QuickBooks won’t print checks problems, the following steps if followed in sequence might resolve the issue. If you are unsure of the steps, contact QuickBooks support. Method 1: On Microsoft Word or Notepad, type something which needs to be printed. From the print option, select the printer you have and proceed. If it prints, then that means that there is no issue with the printer driver. Method 2: Shut down the computer and the printer unplugging the cables also for some time. Meanwhile, check if the paper tray is rightly placed and that it’s not clogged. Restart the computer and the printer and cancel all the pending tasks for the printer. Print a new page to check if the problem has been resolved. Method 3: Use QuickBooks Print and PDF Repair tool to fix common printing issues. You can also try to print it from the QuickBooks Sample Company file to confirm if the company file had a problem. The above-mentioned solutions are given so that you are able to solve checks Won’t Print in QuickBooks manually. For further assistance regarding the issue, contact QuickBooks Support. 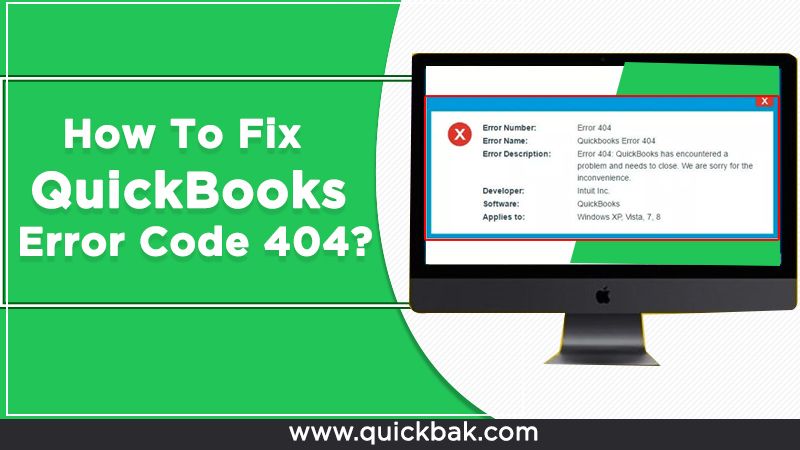 There are a few possible methods that can solve the QuickBooks error code 404. Below are some easy troubleshooting methods which aren’t time-consuming at all:
Method 1: Change the internet settings On Internet Explorer, select Tools and go to Internet Options. Click on the Security tab and click on Trusted Sites. Enter “.intuit.com” and “.quickbooks.com” as Trusted Sites. Select OK and close the program. Log out from the company files and close QuickBooks. Restart the system and QuickBooks software and perform the task again for which you encountered the error. Method 2: Update and Repair From the Help menu in QuickBooks, select Update QuickBooks Desktop. Restart the company files and continue with the tasks which were stopped due to the error. For QuickBooks Repair, press Windows + R keys together. Type “Appwiz. Cpl” on the screen and select QuickBooks from the programs you wish to repair. Once repaired, check if the error persists or contact QuickBooks Support for the same. Method 3: Reconfigure system settings Log out from the company file, save your work and close QuickBooks. Press Windows + R keys, type MSConfig and click OK. Select General on the system configuration screen. Restart your computer. The above methods can solve QuickBooks Error 404 most of the time as they have been tried and tested. If the problem persists or in case of confusion, approach QuickBooks Support who will resolve this error for you. 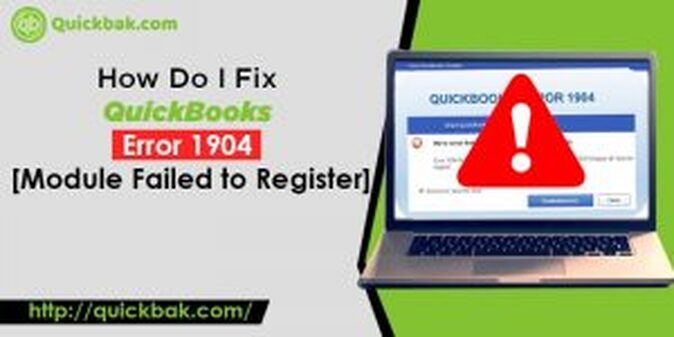 If you are installing QuickBooks for the first time or upgrading your QuickBooks edition from pro to premier, you may face QuickBooks error 1904. The Microsoft components required to install and run QuickBooks on Windows are the source of this problem. Damaged Microsoft Visual C++ files are the most common cause of QuickBooks error 1904 during installation. You may also notice this error after upgrading to a new Windows operating system (for example Windows 10 installation on a Windows 8 computer). The error message displays a detailed description of the file that is causing QuickBooks Enterprise issue 1904.
What Causes the Quickbooks Error 1904 Module Failed to Register in QuickBooks?QuickBooks displays an error notice for a variety of reasons, including broken Microsoft components. Other files you might notice in this issue are qbprefs.dll, qbupdate.exe, cv32.dll, QBversionTool.dll, and RcnFndRequestHandler.dll. Problem 1904 module failed to register icwrapper.dll; other files you might notice in this error are qbprefs.dll, qbupdate.exe, cv32.dll, QB Other explanations for QuickBooks error 1904 installation error on Windows operating systems includes the ones listed below. Step 1: Activate the hidden Admin account on Windows.NOTE: Turning off UAC (User Account Control) on Windows by activating the hidden/built-in admin account will eliminate all operating system restrictions from QuickBooks and other apps installed on Windows. l In the Search Programs and Files search box, press the Start button on your keyboard and type CMD. l Run as Administrator by right-clicking the CMD file at the top of the list. l Now press the Enter key on your keyboard to run the command net user administrator /active: yes l If an error message appears on the screen, put net user administrator /active into the command prompt and press Enter. l Follow the instructions in the article How to enable the built-in Administrator account in Windows for further information on how to activate Built-in Administrator on Windows. Step 2: Add QuickBooks to the Exception List of any Windows security program. If your computer has a security program installed, such as an antivirus or a firewall, open it and add QuickBooks to the exemption list. If you're using Bitdefender as your Windows security program, you'll need to add the folders "C: Program FilesCommon Files" and "C: Program FilesIntuit (C: Program Files(x86)Intuit" to the exclusion list. STEP 3:To fix QuickBooks Install Error 1904, reinstall Adobe Flash Player. Many times the outdated adobe flash player can also issue with the Quickbooks software. You can easily update using the steps given below: l To open the Run window, press Windows + R on the keyboard at the same time. l In the Run window, search for control panel and hit enter. l Double-click Adobe Flash Player from the list of programs after clicking Uninstall a Program. l To complete the uninstallation procedure, click Uninstall and follow the on-screen directions. l Now get Adobe Flash Player and install it. l Restart your computer after the installation is complete and try reinstalling QuickBooks. . If you're still seeing the error message "QuickBooks update error 1904 failed to register" after going through all of the troubleshooting procedures, the problem could be caused by problems with other Windows components. We recommend contacting the customer support team at Quickbooks. |
Archives
April 2022
Categories |
 RSS Feed
